
iMessage is one of Apple’s most widely used messaging platforms, allowing users to send texts, photos, videos, and more between Apple devices over the internet. While having iMessage synced across your iPhone, iPad, and Mac offers seamless communication, there may come a time when you want to log out of iMessage on your Mac—for privacy, troubleshooting, or simply to stop receiving messages on that device. If you’re wondering how to log out of iMessage on Mac, this guide walks you through the process step-by-step, while also exploring reasons you might want to do so, how it differs from disabling notifications, and what logging out actually means for your Apple ID and other devices.
Table of Contents
Why You Might Want to Log Out of iMessage on Mac
Before diving into the process, it’s important to understand why someone might choose to log out of iMessage on their Mac:
- Privacy concerns: If you share your Mac with others or use it in a work environment, you may not want personal messages appearing on the screen.
- Reducing distractions: Constant message notifications can be distracting when you’re trying to work or study.
- Troubleshooting: Logging out can help resolve syncing issues, delays, or bugs in iMessage.
- Switching Apple IDs: If you’re changing to a different iCloud or iMessage account on the Mac, you’ll need to log out of the current one first.
- Selling or giving away your Mac: It’s essential to log out of all personal accounts before handing over your device to someone else.
How to Log Out of iMessage on Mac: Step-by-Step Instructions
Logging out of iMessage is a simple process that takes just a minute or two. Follow these steps to successfully log out:
Step 1: Open the Messages App
- Click on the Messages icon in your dock or open it from the Applications folder.
- This is the app where iMessage conversations are stored and managed on your Mac.
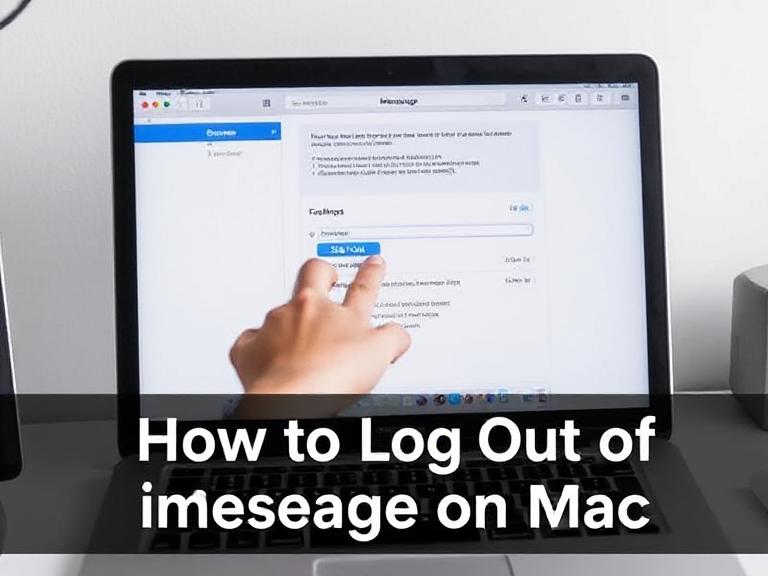
Step 2: Access Preferences
- In the top menu bar, click on Messages (next to the Apple logo).
- From the drop-down menu, select Preferences…
- Alternatively, you can press Command + , (comma) as a shortcut.
Step 3: Select the iMessage Tab
- In the Preferences window, you’ll see multiple tabs. Click on the one labeled iMessage.
- This is where your Apple ID, phone numbers, and email addresses associated with iMessage are displayed.
Step 4: Sign Out of iMessage
- In the iMessage tab, look for the Apple ID section at the top.
- Click the Sign Out button next to your Apple ID.
- A confirmation prompt will appear. Click Sign Out again to confirm your action.
After signing out, your Mac will no longer receive or send messages through iMessage using that Apple ID.
What Happens When You Log Out?
Here’s what logging out of iMessage on your Mac actually does:
- Stops message syncing: Your Mac will no longer sync messages from your iPhone, iPad, or other Apple devices.
- Does not affect other devices: You are only logged out of iMessage on the Mac. Your iPhone and iPad will still be logged in unless you log out there separately.
- Conversation history stays: Your existing messages will remain on your Mac unless you delete them manually.
- No notifications: You’ll stop getting iMessage alerts on your Mac once you’re signed out.
Alternative Option: Disable iMessage Without Logging Out
If you’re not ready to fully log out but want to temporarily stop receiving messages, you can disable your account instead:
- Follow the same steps to open the iMessage tab in Preferences.
- Uncheck the box next to “Enable this account.”
This disables the iMessage account without signing you out. You can re-enable it later by checking the box again.
Another Option: Turn Off Notifications
Sometimes, users only want to silence alerts without signing out completely. Here’s how:
- Go to System Settings (or System Preferences on older macOS versions).
- Click on Notifications & Focus > Messages.
- Toggle off “Allow Notifications” or customize alert settings.
This keeps your iMessage active, but you won’t see pop-ups or sounds.
When Logging Out Doesn’t Work Properly
Occasionally, users report issues with signing out of iMessage on Mac. If you face any problems:
- Restart your Mac and try again.
- Check your internet connection, as iMessage needs to reach Apple’s servers to complete the sign-out process.
- Make sure macOS is up to date in case a bug is causing the issue.
- Try signing out of your Apple ID under System Settings > Apple ID if the Messages app fails to log you out properly.
Final Thoughts
Knowing how to log out of iMessage on Mac gives you control over your privacy and digital environment. Whether you’re troubleshooting issues, reducing distractions, or prepping your device for sale, the process is simple and secure. If you prefer not to log out completely, disabling the account or silencing notifications offers a more flexible approach.
Remember, logging out from iMessage on your Mac only affects that device—it does not remove your Apple ID from your entire Apple ecosystem. Take the time to assess which approach works best for your needs and digital habits.
FAQs: How to Log Out of iMessage on Mac
Q1: Does logging out of iMessage on Mac delete my messages?
A: No. Your previous conversations will remain on the Mac unless you delete them manually. Logging out only prevents new messages from syncing.
Q2: Will my iPhone still receive messages after I log out on Mac?
A: Yes. Logging out of iMessage on Mac affects only that device. Your iPhone and other Apple devices will continue to receive messages as usual.
Q3: Can I use iMessage again after logging out?
A: Absolutely. You can sign back in at any time by reopening Messages, going to Preferences > iMessage, and signing in with your Apple ID.
Q4: What’s the difference between logging out and disabling the account?
A: Logging out removes your Apple ID from the iMessage app on that Mac. Disabling the account keeps the login intact but turns off iMessage temporarily.
Q5: Is it necessary to log out of iMessage before selling my Mac?
A: Yes. You should always sign out of iMessage, iCloud, and other Apple services before selling or giving away your Mac to protect your privacy and prevent unauthorized access.
By following these steps and understanding the impact, you can confidently manage your iMessage presence on Mac, making your digital experience more secure and tailored to your preferences.