

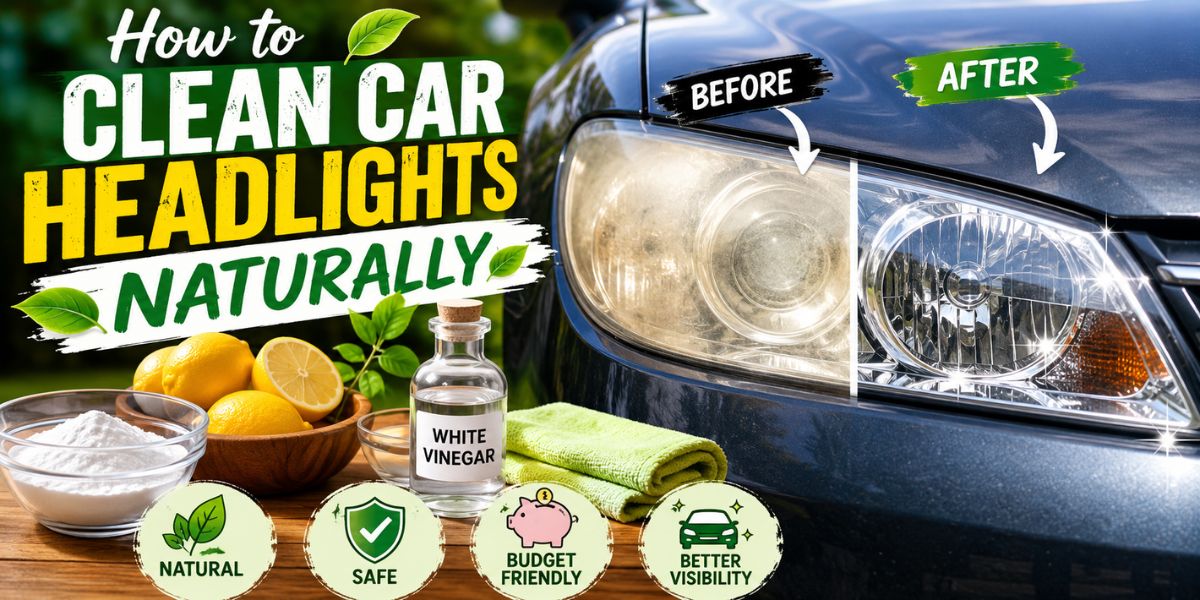
A car’s headlights play a crucial role in keeping you safe on the road. Over time, however, exposure to sunlight, dirt, dust, road debris, and harsh weather can cause plastic headlight lenses to become cloudy, yellow, or oxidized. Not only do foggy headlights reduce nighttime visibility, but they can also make your vehicle look older and even affect its ability to pass a roadworthy inspection.
The good news is that you don’t always need expensive restoration services or replacement headlights. With a few common household ingredients and the right techniques, you can clean and restore your headlights naturally, improving both their appearance and performance.
In this complete guide, you’ll learn why headlights become cloudy, the best natural cleaning methods, step-by-step instructions, maintenance tips, and when it’s time to seek professional restoration.
Why Do Car Headlights Become Cloudy?
Most modern vehicles use polycarbonate plastic headlight lenses instead of glass. While this material is lightweight and durable, it is vulnerable to:
- UV rays from the sun
- Dirt and road grime
- Oxidation
- Rain and moisture
- Insect residue
- Mud and sand
- Small scratches from debris
As the protective UV coating wears away, the plastic begins to oxidize, resulting in a dull, yellow appearance that reduces light output.
Why Cleaning Your Headlights Matters
Keeping your headlights clean provides several benefits:
- Improves nighttime visibility
- Makes driving safer during rain and fog
- Helps your vehicle look newer
- Increases headlight brightness
- May help pass a roadworthy or safety inspection
- Delays expensive headlight replacement
Natural Ingredients You’ll Need
Most natural headlight cleaning methods require simple household items such as:
- Baking soda
- White vinegar
- Toothpaste (preferably with baking soda)
- Lemon
- Warm water
- Microfiber cloths
- Soft sponge
- Spray bottle
- Soft toothbrush
These ingredients are inexpensive, environmentally friendly, and safe when used correctly.
Method 1: Clean Car Headlights Naturally with Toothpaste
Toothpaste is one of the most popular DIY headlight cleaners because it contains mild abrasives that help polish away oxidation.
What You’ll Need
- White toothpaste
- Baking soda (optional)
- Microfiber cloth
- Water
Steps
- Wash the headlights with clean water.
- Dry them using a microfiber cloth.
- Mix toothpaste with a small amount of baking soda.
- Apply the mixture to the headlight.
- Rub gently using circular motions.
- Continue polishing for about five minutes.
- Rinse thoroughly.
- Dry with a clean cloth.
You should notice clearer and brighter headlights immediately if oxidation is only on the surface.
Method 2: Baking Soda and Vinegar
Baking soda and white vinegar create a gentle cleaning solution that removes grime and light oxidation.
Instructions
- Mix two tablespoons of baking soda with white vinegar.
- Stir until it forms a paste.
- Apply it evenly over the headlight.
- Polish using a soft microfiber cloth.
- Rinse with water.
- Dry completely.
Repeat if necessary for heavily stained headlights.
Method 3: Lemon and Baking Soda
Lemon contains natural acids that help dissolve dirt while baking soda provides gentle polishing action.
Directions
- Cut a lemon in half.
- Sprinkle baking soda over the cut side.
- Rub directly onto the headlight.
- Leave for two to three minutes.
- Rinse thoroughly.
- Dry using a microfiber towel.
This method works well for light oxidation and regular maintenance.
Remove Mud, Dirt, and Bug Residue Safely
Before using any polishing method, remove loose dirt first.
Follow these steps:
- Rinse headlights with plenty of water.
- Wash using quality car shampoo.
- Use a soft sponge.
- Never scrub dry mud.
- Wipe in straight lines instead of circles to minimize scratches.
Proper washing prevents additional damage during restoration.
Tips for Better Results
For the best outcome:
- Always work in the shade.
- Use clean microfiber towels.
- Avoid harsh household cleaners.
- Never use steel wool.
- Polish gently.
- Repeat treatment if necessary.
- Finish with UV protection.
Don’t Forget UV Protection
One mistake many people make is cleaning the headlights without replacing the protective UV layer.
Natural cleaning removes oxidation but may also remove the remaining factory UV coating.
After cleaning, apply a quality UV protectant or headlight sealant to help prevent the lenses from turning yellow again.
Without protection, oxidation can return within a few months.
Natural Cleaning vs. Commercial Restoration Kits
| Natural Methods | Restoration Kits |
|---|---|
| Budget-friendly | More expensive |
| Uses household items | Includes professional compounds |
| Great for light oxidation | Better for severe oxidation |
| Easy for beginners | Some require sanding |
| Eco-friendly | Longer-lasting results |
If your headlights are severely yellowed or deeply scratched, a commercial restoration kit or professional restoration may provide better results.
When Should You Replace Your Headlights?
Natural cleaning won’t fix every problem.
Consider professional restoration or replacement if:
- Deep cracks appear in the lens
- Moisture is trapped inside
- Severe oxidation returns quickly
- The plastic has become brittle
- Light output remains poor after cleaning
Frequently Asked Questions
How often should I clean my headlights naturally?
Every three to six months is usually enough, depending on driving conditions.
Does toothpaste really work?
Yes. Its mild abrasive properties can remove light oxidation and improve clarity.
Is baking soda safe for plastic headlights?
Yes, when used gently with a soft cloth.
Can vinegar damage headlights?
No. White vinegar is generally safe when used properly and rinsed off after cleaning.
Will natural cleaning permanently restore headlights?
Not always. It works best for mild to moderate oxidation. Severe damage may require professional restoration.
Final Thoughts
Learning how to clean car headlights naturally is an easy and affordable way to improve your vehicle’s appearance and driving safety. Simple ingredients like toothpaste, baking soda, vinegar, and lemon can effectively remove dirt, oxidation, and yellowing from plastic headlight lenses when used correctly.
For long-lasting results, always clean the headlights gently, avoid scratching the surface, and apply a UV protectant after polishing. Regular maintenance can help keep your headlights clear, bright, and ready for safer driving in all conditions.
READ MORE: Magnum 2+2: A Comprehensive Look into an Automotive Classic.
 alona queen