

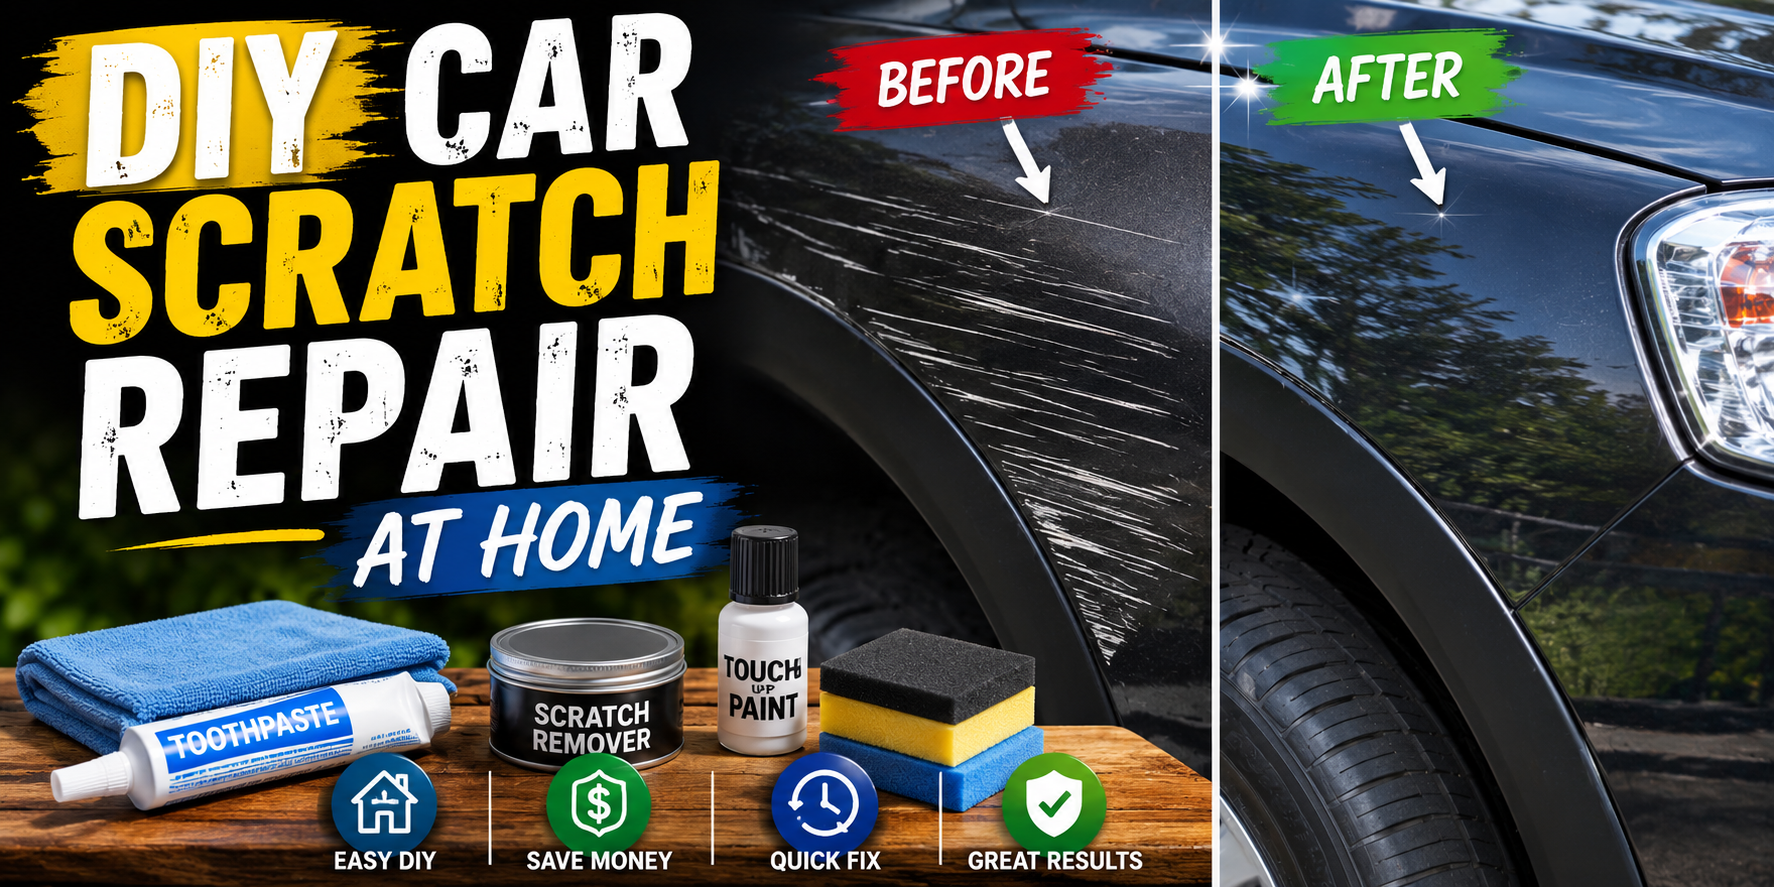
Car scratches are almost inevitable, whether they come from shopping carts, tree branches, road debris, or accidental bumps in parking lots. Even small scratches can make your vehicle look older and reduce its overall appearance. Fortunately, not every scratch requires an expensive trip to an auto body shop. With the right tools, techniques, and a little patience, you can perform DIY car scratch repair at home and restore your car’s finish without spending hundreds of dollars. If your headlights have also become cloudy over time, don’t miss our guide on How to Clean Car Headlights Naturally to improve your vehicle’s appearance and nighttime visibility.
This comprehensive guide explains how to identify different types of scratches, repair minor damage safely, use common household items for light scratches, and know when professional repair is the better option.
Why Repair Car Scratches Quickly?
Ignoring scratches may seem harmless, but exposed paint can lead to bigger problems over time.
Benefits of repairing scratches include:
- Prevents rust from forming on exposed metal
- Maintains your vehicle’s appearance
- Protects the paint from further damage
- Helps preserve resale value
- Saves money on costly future repairs
Understanding Different Types of Car Scratched
Before attempting any repair, identify how deep the scratch is.
1. Clear Coat Scratches
These are the most common and easiest to repair. They affect only the transparent protective layer.
Appearance:
2. Paint Layer Scratches
These scratches penetrate the colored paint beneath the clear coat.
Appearance
3. Primer Scratches
The scratch reaches the primer beneath the paint.
Appearance:
- Gray or white marks
- Easily visible
- Usually requires touch-up paint
4. Deep Metal Scratches
These expose the metal body underneath.
Appearance:
- Bare metal visible
- Risk of rust
- Professional repair is often recommended
Tools You’ll Need
Basic DIY car scratch repair requires:
- Car wash soap
- Bucket of clean water
- Microfiber towels
- Scratch removal compound
- Foam applicator pad
- Car polish
- Car wax
- Touch-up paint (if needed)
- Fine polishing cloth
Optional household items:
- White toothpaste (non-gel)
- Baking soda
- Spray bottle
- Soft microfiber cloth
Step 1: Wash the Car Thoroughly
Never repair scratches on a dirty vehicle.
- Wash the damaged area using quality car shampoo.
- Remove dirt, mud, and debris.
- Dry completely with a microfiber towel.
A clean surface prevents additional scratches during polishing.
Step 2: Check the Scratch Depth
Run your fingernail lightly across the scratch.
- If your fingernail doesn’t catch, it’s usually a clear coat scratch.
- If it catches slightly, the paint layer may be damaged.
- If you see primer or metal, you’ll likely need touch-up paint or professional repair.
Step 3: Repair Light Scratches with Toothpaste
For very light surface scratches, ordinary white toothpaste can act as a mild polishing compound.
Instructions
- Clean and dry the area.
- Apply a small amount of toothpaste to a microfiber cloth.
- Rub gently in circular motions for 30–60 seconds.
- Wipe away the residue with a damp cloth.
- Repeat if necessary.
- Finish with car wax.
This method works best for tiny clear coat imperfections rather than deep scratches.
Step 4: Use Baking Soda Paste
Another simple home remedy is baking soda.
How to Use
- Mix two parts baking soda with one part water.
- Create a smooth paste.
- Apply it using a soft microfiber cloth.
- Rub gently over the scratch.
- Wipe clean.
- Dry thoroughly.
This method may reduce the appearance of minor surface marks but won’t repair deep paint damage.
Step 5: Apply a Scratch Removal Compound
Commercial scratch removers are designed to remove oxidation and smooth light scratches.
Steps
- Apply a small amount to a foam applicator.
- Rub using moderate pressure.
- Work in overlapping circular motions.
- Buff with a clean microfiber towel.
- Inspect the results.
Repeat if necessary, but avoid excessive polishing that could wear away the clear coat.
Step 6: Polish the Area
After removing or reducing the scratch, apply a quality car polish.
Polishing helps:
- Restore gloss
- Blend repaired areas
- Remove fine swirl marks
- Improve paint clarity
Buff the polish until the surface shines evenly.
Step 7: Protect with Wax
Wax adds a protective barrier that shields the paint from UV rays, water, and contaminants.
Apply a thin coat of car wax after polishing and buff it to a smooth finish.
Natural DIY Methods: Do They Really Work?
Natural methods can improve the appearance of very light scratches, but they have limitations.
Toothpaste
Best for:
- Fine clear coat scratches
- Surface marks
Baking Soda
Best for:
- Light polishing
- Minor blemishes
Coconut Oil
Some people use coconut oil to temporarily hide scratches by enhancing shine, but it does not repair paint damage.
Common Mistakes to Avoid
Avoid these common DIY errors:
- Repairing scratches on a dirty car
- Using rough cloths or paper towels
- Applying too much pressure
- Using coarse sandpaper without experience
- Over-polishing the paint
- Ignoring rust-forming scratches
- Skipping the final wax layer
DIY Repair vs. Professional Repair
| DIY Repair | Professional Repair |
|---|---|
| Affordable | More expensive |
| Good for light scratches | Ideal for deep damage |
| Can be completed at home | Requires specialized equipment |
| Great for maintenance | Provides factory-quality finish |
If the scratch exposes primer or metal, professional repair is often the best long-term solution.
Tips to Prevent Future Scratches
Keep your car looking its best by following these simple habits:
- Park away from crowded areas.
- Wash your car using microfiber mitts.
- Avoid automatic car washes with harsh brushes.
- Apply wax every few months.
- Remove bird droppings promptly.
- Trim nearby tree branches when parking at home.
- Use a quality car cover if parked outdoors.
Frequently Asked Questions
Can toothpaste permanently remove car scratches?
No. Toothpaste can reduce the appearance of very light clear coat scratches but won’t repair deeper paint damage.
Does baking soda fix scratches?
Baking soda may polish away tiny surface imperfections but is not a permanent solution for deeper scratches.
Can I repair deep scratches myself?
Minor paint scratches can often be repaired with touch-up paint, but deep scratches that expose primer or metal usually require professional attention.
How long does DIY scratch repair take?
Most light scratch repairs can be completed in 30 to 60 minutes.
Final Thoughts
DIY car scratch repair at home is a practical and budget-friendly way to keep your vehicle looking its best. Simple methods such as using toothpaste or baking soda can help minimize light surface scratches, while scratch removal compounds, polishing, and waxing provide more effective results for clear coat damage.
The key to success is identifying the type of scratch before starting, using the right tools, and working carefully to avoid causing further damage. With regular maintenance and prompt repairs, you can preserve your car’s finish, improve its appearance, and extend the life of its paint—all without spending a fortune.
READ MORE: How to Clean Car Headlights Naturally: The Complete Guide to Restoring Clear, Bright Headlights.
 alona queen